
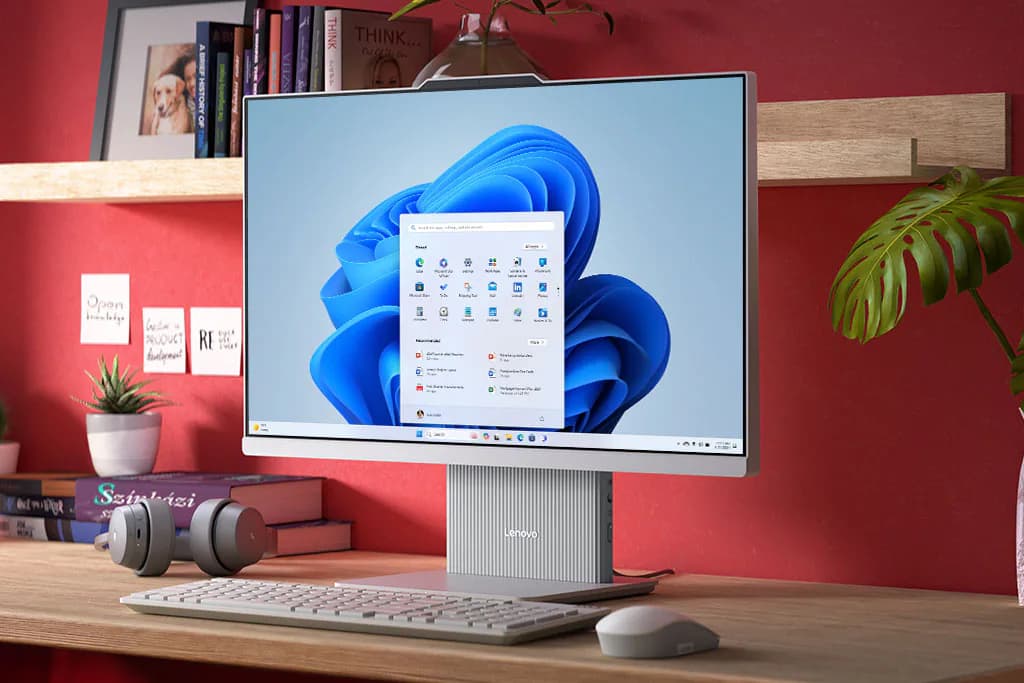
Over time, cached files on your Windows 11 system can build up and slow down performance. Clearing these temporary files can free up system resources and improve speed. Here’s a step-by-step guide to clearing cache on Windows 11.
- Press Windows + I to open Settings.
- Go to System > Storage.
- Click on Temporary files.
- Check the boxes for items you want to delete, such as Temporary Files, Windows Update Cleanup, and Recycle Bin.
- Click Remove files to delete them.
- Press Windows + S, type Disk Cleanup, and select it.
- Choose your system drive (usually C:) and click OK.
- Check the boxes for Temporary files, Thumbnails, and other unnecessary data.
- Click OK and then Delete Files.
- Press Windows + R to open the Run dialog.
- Type
wsresetand press Enter. - A blank Command Prompt window will open and close automatically, indicating that the Windows Store cache has been cleared.
If your browser is sluggish, clearing its cache can help:
- Microsoft Edge/Google Chrome:
- Open your browser and press Ctrl + Shift + Delete.
- Select Cached images and files.
- Click Clear data.
- Open Command Prompt as Administrator.
- Type
ipconfig /flushdnsand press Enter. - You’ll see a confirmation message that the DNS Resolver Cache has been cleared.
After clearing cache files, restart your computer to apply changes and ensure optimal performance.
By regularly clearing cache on Windows 11, you can maintain a smooth and responsive system. Make this a habit to keep your PC running efficiently!



Comments
No comments yet. Be the first to share your thoughts.