
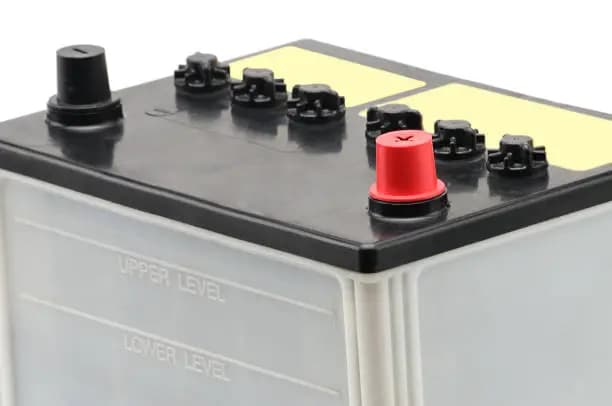
Knowing how to charge a gel battery correctly is important for maintaining its performance and extending its service life. Gel batteries are sealed lead-acid batteries that use gelled electrolyte instead of liquid acid. They are commonly used in solar systems, backup power systems, wheelchairs, boats, and other applications. Using the correct charger and charging settings helps prevent overheating, overcharging, and permanent battery damage.
-
Table of Contents
ToggleCheck the Battery Specifications
Before connecting the charger, check the label on the gel battery for its voltage and charging requirements.
Make sure the charger is suitable for gel or VRLA batteries and matches the battery voltage.
- Check the battery voltage
- Confirm the battery capacity
- Use a charger designed for gel batteries
-
Choose the Correct Charger
Use a smart charger or battery charger with a GEL or VRLA charging mode where available.
Avoid using a charger intended only for conventional flooded lead-acid batteries because incorrect charging voltage can damage a gel battery.
- Select the gel charging mode
- Use the correct voltage
- Avoid unsuitable charging settings
-
Connect the Charger Correctly
Switch off the charger before connecting it to the battery.
Connect the positive charger cable to the positive battery terminal and the negative cable to the negative terminal.
- Connect positive to positive
- Connect negative to negative
- Check the connections before switching on the charger
-
Allow the Battery to Charge
Switch on the charger and allow it to complete the charging cycle.
The charging time depends on the battery’s capacity, its current charge level, and the charger’s output. Avoid interrupting the process unnecessarily and never leave the battery charging if the battery or charger becomes unusually hot.
- Monitor the charging process
- Allow the charger to complete its cycle
- Stop charging if there is unusual heat, swelling, or damage
-
Disconnect the Charger Safely
Once the charger indicates that the battery is fully charged, switch off the charger before disconnecting the cables.
Remove the negative cable first, followed by the positive cable.
- Switch off the charger
- Disconnect the negative cable
- Disconnect the positive cable



Comments
No comments yet. Be the first to share your thoughts.