
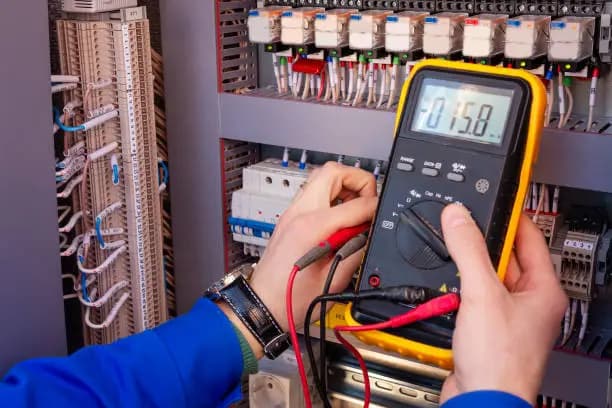
A fuse is an important safety component that protects electrical devices and circuits from damage caused by excessive current. When a fuse blows, the connected device may stop working completely. Learning how to test a fuse with a multimeter helps you identify faulty fuses quickly and safely. With the right tools and careful handling, you can determine whether a fuse is still functioning properly.
-
Table of Contents
ToggleTurn Off the Power Source
Before testing a fuse, disconnect the device or switch off the power supply.
This helps prevent electrical shock and protects the equipment.
- Unplug the device if possible
- Switch off the main power
- Ensure the area is safe
-
Remove the Fuse Carefully
Take the fuse out of the device or fuse holder before testing it.
Handle it gently to avoid damage.
- Locate the fuse
- Remove it carefully
- Check for visible damage
-
Set the Multimeter Correctly
Turn the multimeter to the continuity or resistance setting.
These settings help determine whether electricity can pass through the fuse.
- Select continuity mode
- Use resistance mode if needed
- Ensure the multimeter is working properly
-
Test the Fuse
Place one multimeter probe on each end of the fuse.
Observe the reading on the multimeter display.
- Touch both ends of the fuse
- Listen for a beep in continuity mode
- Check resistance reading
-
Interpret the Results
A working fuse will usually show continuity or very low resistance.
If there is no reading or no beep, the fuse is likely blown and needs replacement.
- Low resistance indicates a good fuse
- No continuity suggests a blown fuse
- Replace faulty fuses safely



Comments
No comments yet. Be the first to share your thoughts.